I was well into my knitting obsession before I heard someone refer to ripping something out as "frogging." I was even further into it when I realized that "rip-it, rip-it" wasn't the only way to go back and fix something, and boy was that a revelation. And to be honest, a bit annoying - here I was learning all the myriad and impressively plastic ways I could manipulate my yarn and needles, and it never occurred to me that there were equally creative ways to get myself out of a jam without just undoing hours of work. The knitting time I could have saved if I'd known what I know now from the get-go...!
To that end, this month's round up of techniques and tips focusses on fixing mistakes without necessarily ripping back. That said, there are of course situations you can't get out of without that sad un-ravelling and rewinding of the yarn. But that can be made less painful as well. Because it's part of the foundation of easing frustrated knitting, that's where I'm going to start.
Tension, and why it matters
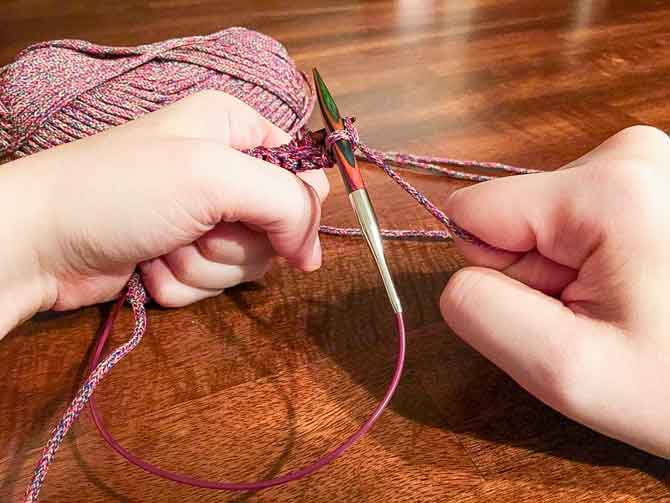
Having nice, relaxed, even tension isn't just important for getting gauge, or just important to your overall knitting health. Even tension is also the key to avoiding dropped stitches and frogging more efficiently.
Why? Well, when your tension is tight, dropped stitches hop off your needle and immediately start to ladder down your knitting. If you learn to ease up, the stitches are no longer under so much pressure and when one happens to slip off a needle, instead of responding to the pull of the other surrounding stitches, the stitch will simply sit there happily in its row, waiting to be slipped back on the needle.
What not to do... Michelle Nguyen, Knitmuch.com
Michelle Nguyen from Knitmuch.com provides 6 tips for relaxing your tension.
Davina from Sheep & Stitch created the above video to demonstrate some techniques to relax your tension.
Stitch Position - the next piece of the puzzle
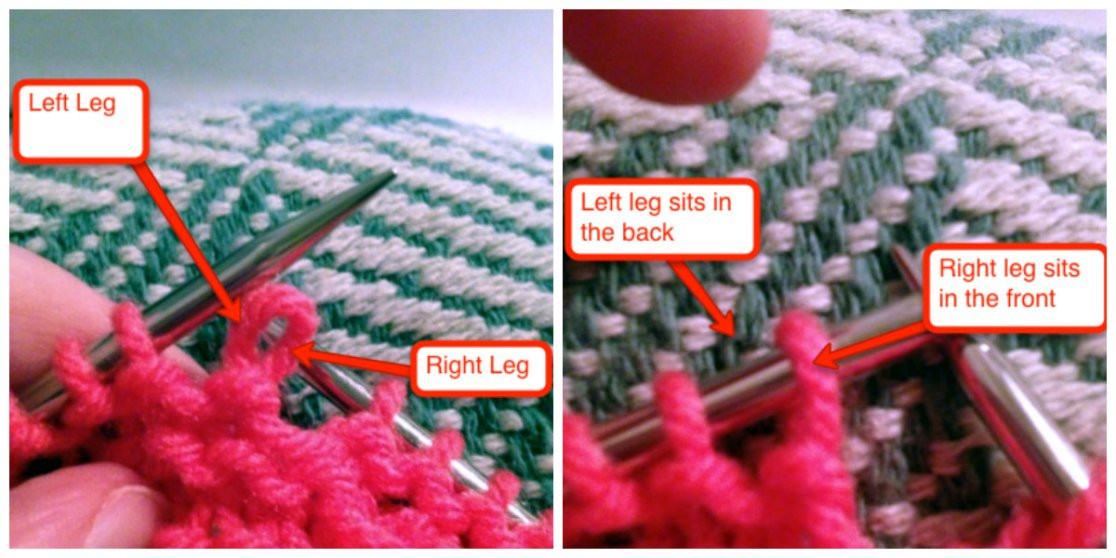
Knowing which way the stitch needs to sit on your needle is key to getting any dropped stitches or ripped back knitting back on your needles without being twisted. Anastasia Wraight of For the Knit of It shows the "legs" of a knitted stitch here:
Just remember - right leg in front!
A stitch becomes twisted when the left leg is at the front of the needle. You can fix this by either slipping the stitch off and turning it around with the help of your needles, or by simply knitting or purling through the back loop to twist the stitch back to where it should be, without having to slip it off the needle.
Happy tension + happy stitch position = happy frogging
Relaxed tension and knowing which way to get the stitches straight on the needle revolutionizes your frogging. Suddenly you won't be afraid to pull a whole row of stitches off the needle, rip it back to where you need to fix something, and calmly put the needle back through the stitches. No drops, no twists, no knitting-needle-based missiles. (Lace is the only exception to this guarantee.)
Frogging with a safety net
If the idea of pulling your needle right out still makes you want to curl up in a corner and rock, Theresa over at Knitty.com details a technique for inserting a needle as an afterthought lifeline.
Notice she picks up the RIGHT LEG of each stitch so that they will be sitting properly on the new needle when the above rows are removed.
Now let's talk about those beautiful situations where you have no need of amphibious solutions...
Recovering dropped stitches
We start here not only because it's a common problem, but also because the technique for recovering a dropped stitch provides the basis for going back and changing stitches after they've been knit, without frogging.

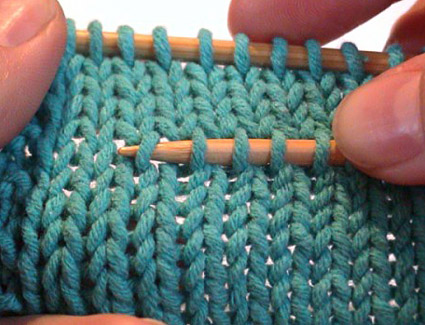
Fixing a dropped stitch with the help of a crochet stitch. For purl stitches, work like this from the BACK of the knitting.
Terry Kimbrough at How Stuff Works offers the above quick illustrated demo of how to fix a dropped stitch with a crochet hook.
Anastasia Wraight shares the following video about saving a drop stitch without a crochet hook, in garter stitch.
Changing stitches without frogging
This same idea, of working a stitch back up its "ladder" without ripping anything out, can be applied to changing stitches - wherein you drop a stitch deliberately to alter its appearance. For example, changing a knit stitch to a purl stitch, or, in stranded knitting, changing the colour of a stitch.
Staci, from Very Pink, demonstrates how to change a knit to a purl. This same technique can be used in stranded knitting to change the colour of a stitch using the carried yarn at the back of the knitting instead of the yarn originally used to make the stitch. The result is a bit tight, because the carry doesn't have as much yarn to work with, but it blocks out in the end result.
Changing a whole section without frogging

Robin Melanson, for Twist Collective, demonstrates how to fix a mis-crossed cable by undoing only the cable section.
The concept of changing one stitch by dropping it down to the error and bringing it back up its ladder can and has been extrapolated to changing a whole set of stitches to fix, for example, a mis-crossed cable, or a lace motif. Twist Collective offers this excellent pictorial lesson on fixing a cable mishap.
Meanwhile, Laura Nelkin is the queen of saving lace mishaps:

Laura Nelkin uses a left-to-right pinning system to keep track of which yarn to re-knit first when undoing part of a lace motif[/caption]
Laura has several classes about lace knitting through Craftsy.com, including her "Save Our Stitches: Fixing Lace Knitting Mistakes."
A final note about lace
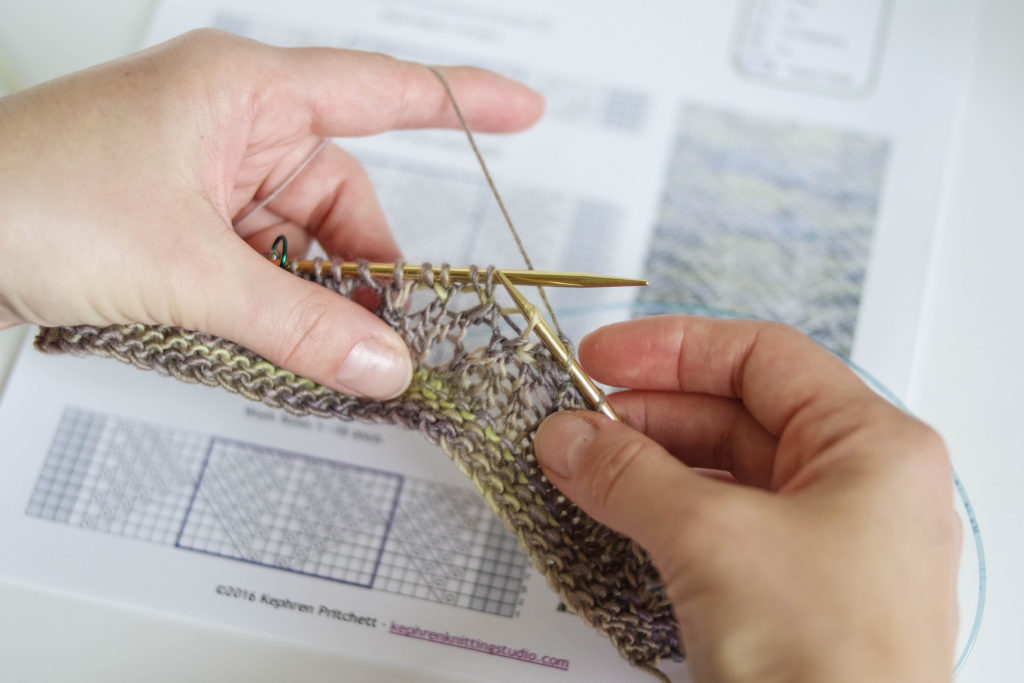
Although challenging, lace knitting has its forgiving qualities as well. Missed yarn overs are blessedly simple to fix.
Fixing a missing yarn over is as simple as picking up a stitch from the strand between two stitches
Kephren Pritchett demonstrates how to fix a missing YO from many points in the process.
That's it (for now). Any hot tips on mistake fixes, anecdotes, sob stories? I'd love to hear them.


